Search Prior Creations

Showing posts with label nursery. Show all posts

Thursday, August 16, 2012

Owl Decor


How to Make Owl Art with just Scissors and Pieces of Fabric


I am like so many moms in love with the new “owl” theme.  I got my daughter an owl backpack and toothbrush holder-then I realized that was probably all I could afford.  We’re a one income family and buying the latest “owl” fashion is beyond my budget.  Still, relentless to allow my budget get in the way of my ‘Hooty’ dream.  I found an innovated way to create the theme I want that ended up being very simple and very cheap-Fabric owls.  I’m a novice sewer and with my spooler to my sewing machine being broken, I’m probably less than that.  Here’s an easy way to use leftover fabric to create a theme of your choice:

1.)     Fabric:  I found strips of fabric from previous projects and even old clothes.  Don’t have any fabric or clothes you want to destroy?  Some Wal-Marts sell fabric swatches for $1!

2.)    Arrange:  I actually constructed the 3 separate owls without the use of a glue gun!  Then I arranged the pieces and used a flat iron to iron it all into place.  I started by cutting out and trimming the perfect owl outline then decorating the "inside" with different fabric pieces to include the circles around the eyes and wings.

3.)    Frame: The background is actually more fabric I had bought previously to use a play mat.  It made the perfect backdrop.  I carefully flipped the owl over into the palm of my hand and pressed it against the glass of the frame.  I put the back on and it all fell into place.  When I ironed the fabric finished, it allowed for the pieces to be heated into place-long enough for me to put it in a picture frame with little movement in the end.

Of course, it’s much easier with the pieces glued together but it can be done without! 
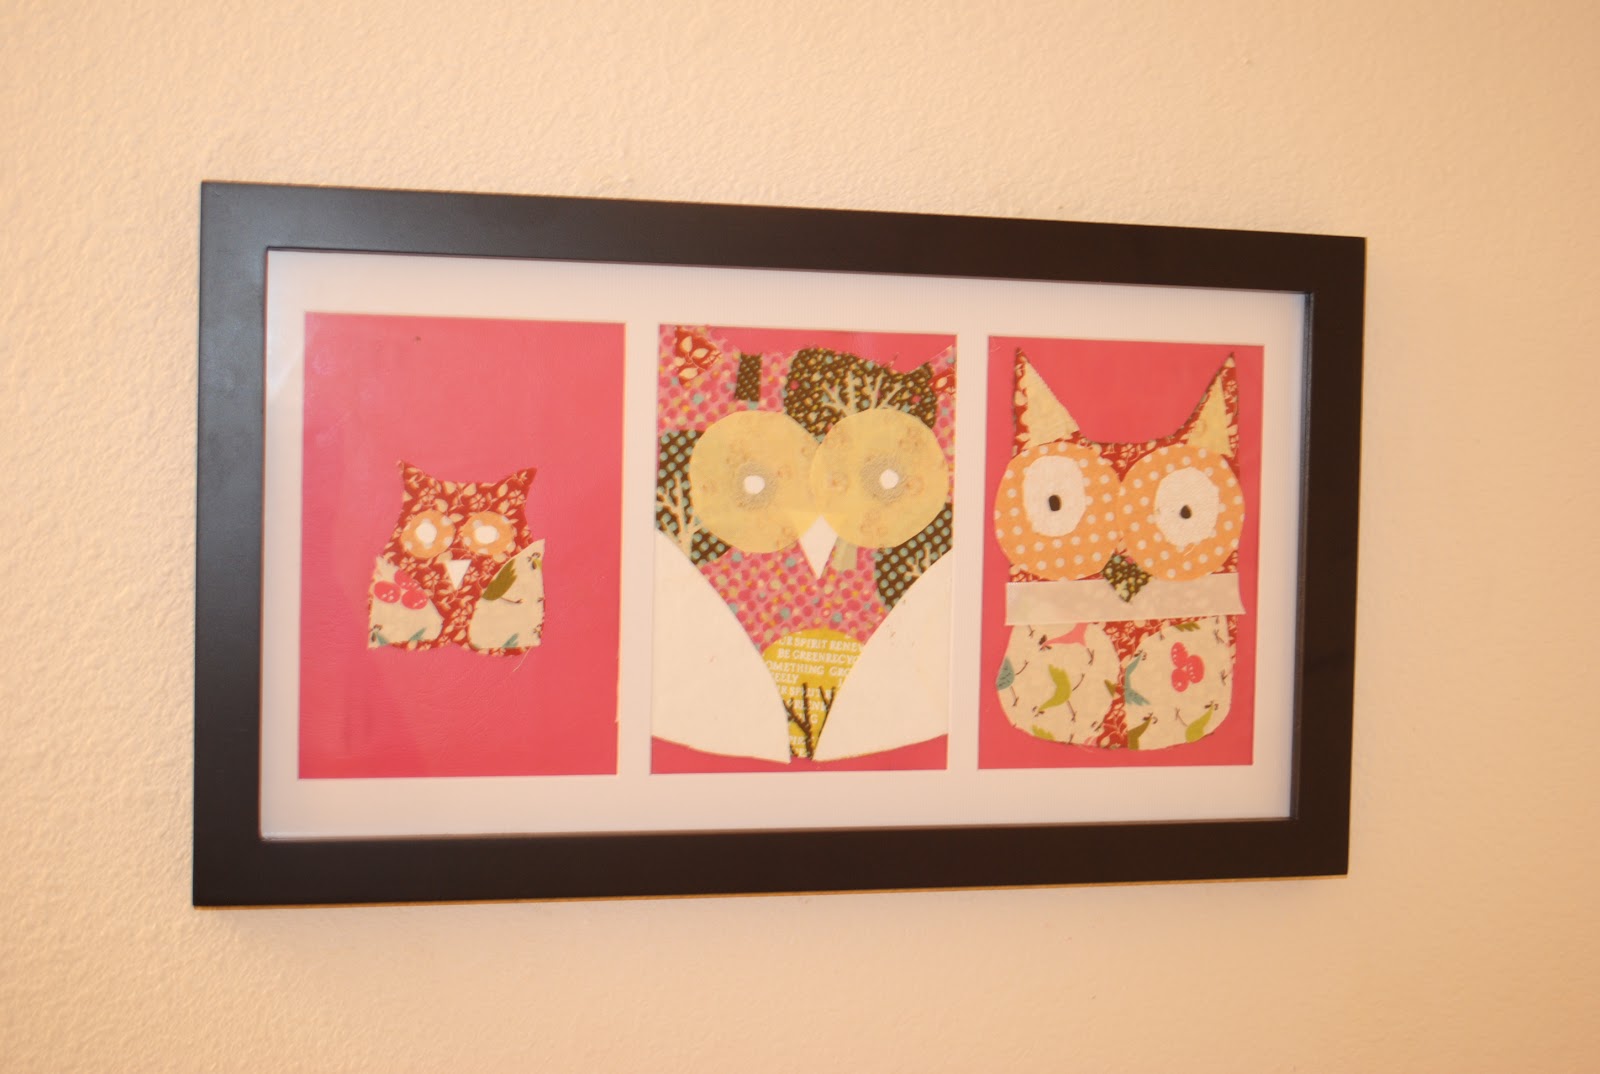

I’m not done with ‘Owling’ out my daughter’s bathroom but I am done with buying owls.  We will see how much more I can do to make this the theme I want.

Saturday, August 27, 2011

Nursery Wall Decoration

Easy and Cheap Wall Hangings

      I remember going to a family friends house and marveling over the children's room.  She had her two adorable little girls in a big room with tons of wall space.  What she did to utilize the wall space and reduce clothing clutter of two little girls in the closet was hang the pretty dresses and outfits on the wall. 

   It makes perfect sense.  We go to stores and 'oh' and 'aw' over tiny baby clothes, why not showcase those precious little outfits everyday?

   All you need is string or ribbon, clothes line clips, and your most adorable of baby outfits.  I've seen it also be hung with beautiful baby hangers off the line.

Here is an example I found (since I didn't bring a camera to take a picture of the little girls room)...


To keep it looking neat make sure you starch and iron.

Friday, August 19, 2011

Nursery Chandelier

  How to Decorate your Nursery on a Budget

     Ever look through home magazines and see beautiful chandeliers in a beautiful nursery or living room then look on-line to buy the identical item?  More than likely the price for those chandeliers purchased at a store range for over $100.  DON'T DO IT! You can get the same chandelier for way cheaper.

Here's how:

Look on Craigslist for cheap chandeliers or your local thrift store.
                                Here's one I just found on Craigslist in my area for $25:
Here's what you can turn it into with paint, small shades, beads, and time:

Think about the money you could save by doing this project yourself.  Depending on the deal for the chandelier itself, the paint, beads, and lamp shades can all be purchased for less than $40 off Amazon.  That potentially saves you about $100 and it's personalized to your decor!

This chandelier sells for $199 at Pottery Barn Kids...
Alyssa Crystal Chandelier
This can be done for under $60 depending on the cost for the chandelier.

So whenever your out check out your local thrift store, flea market or garage sell.  At home browse Craigslist.  You never know when you'll find that gem that you can recorate into a beautiful item.

Tuesday, August 16, 2011

Quilt Mat


How to Make a Quilt


  I tried quilting for the first time.  Its not that hard to do if you have hours to do it.  You can go to any place that sales fabric and get a pack of fabric squares.  I got these squares off Amazon under quilting squares the price ranges from $8-$12 for a pack of squares.

Amy Butler SOUL BLOSSOMS PASSION 5" Quilting Fabric Squares

1.) You start by sewing a line of squares together-you sew the same way as other fabric-place the squares face to face so the design part is facing each other and sew the pieces together-(I did a role of 6) then sew those roles together. 

2.) Once their sown together it's like any other piece of fabric. You can make the entire mat quilted on both sides or use another piece of whole fabric to sew the quilt piece onto. 

I was thinking of making a baby bag as my next project if I get more time.  It's time consuming to sew all the squares together but the results are definitely worth it.  I used PUL as the other fabric so it could be water resistant for my daughter's bottles (and spit-up).

Monday, August 15, 2011

My Little Red Chair

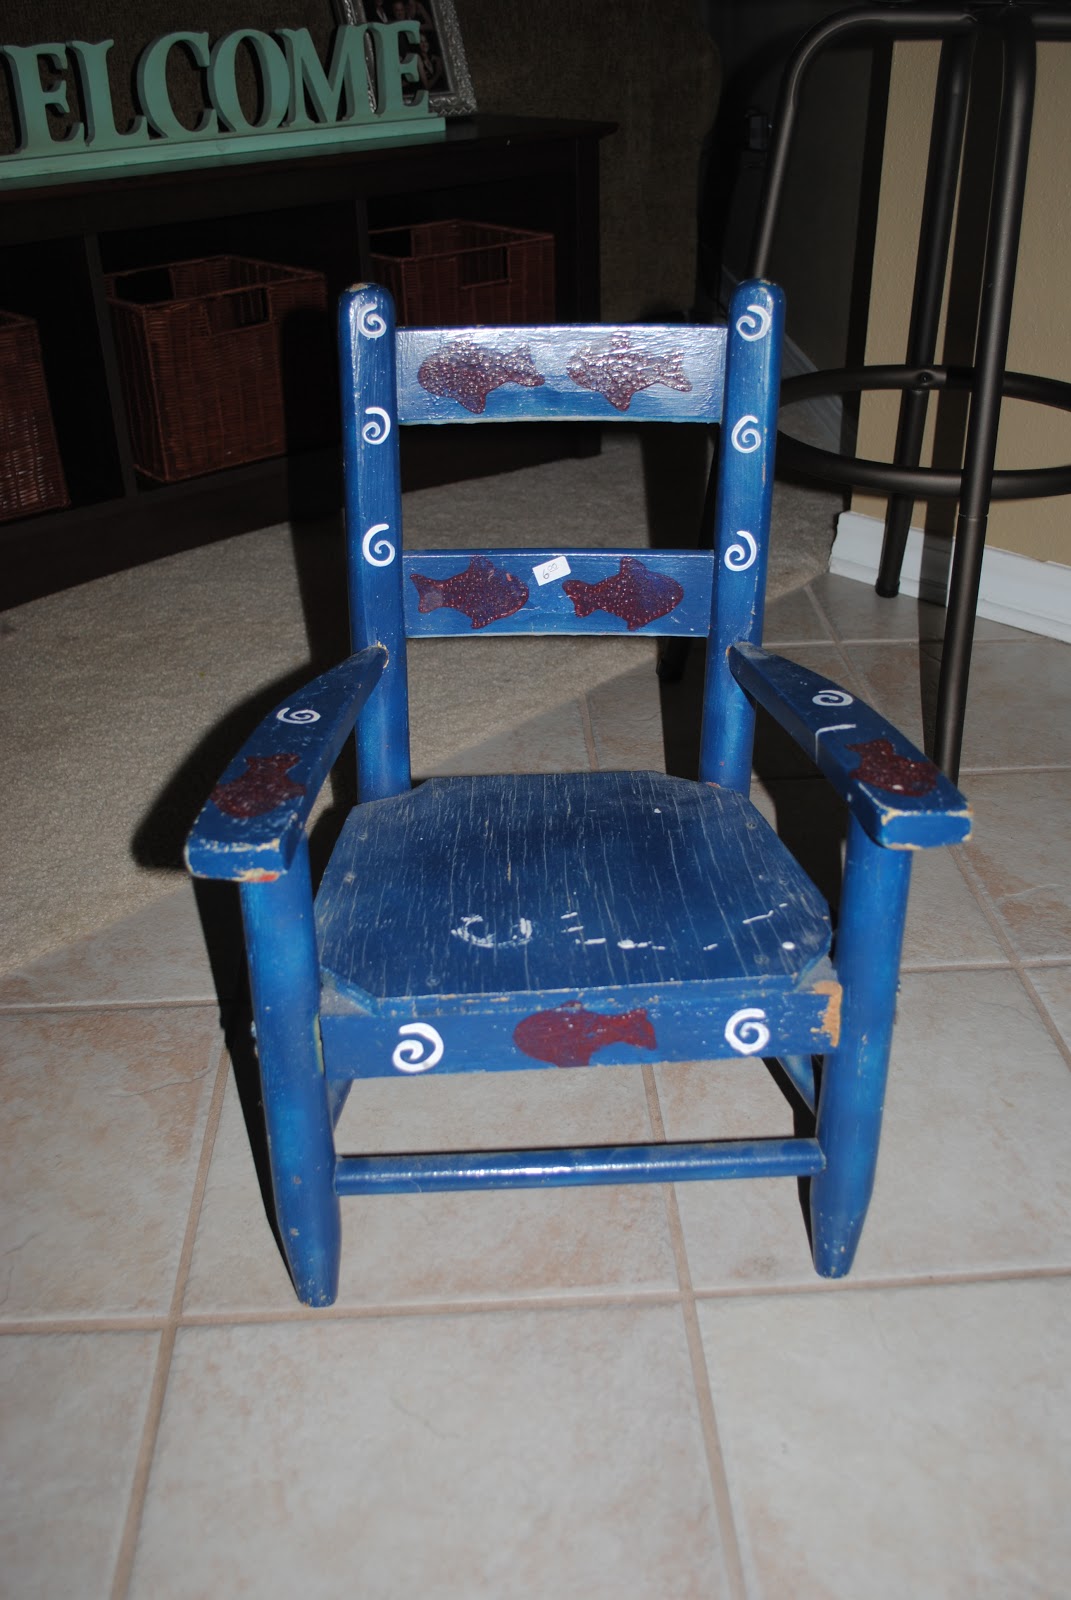
  I got together with an old friend over the weekend.  In the old days we would get together on weekends all dolled up to do the Pub run.  Its funny how we both hit a milestone in our lives, motherhood.  We went to the local flea market in search of anything old and corrupted so we could refurburish and transform our house into a Martha Stewart recreation.  We found a lot of neat things like an old Nikon camera she wanted to purchase but couldn't get the lens to open right.  Old photography is another upcoming obsession we are entering.  I came across a little blue chair that looked like it had been sitting in the back of a garage for quite sometime.  Honestly I could of talked the lady down to $5 since the chair barely looked like $2 was a good price but I decided to give that extra buck up and pay $6 for the cute little chair.  I already knew what I wanted to do with it.  I wanted to sand down the rough parts so little Kennedy wouldn't get raging splinters from the wooden seat and paint it what I was thinking in a light blue (my favorite color!) But my husband was thinking cherry red and was he right about the color!  It pops and looks so cute and vibrant! It's like I resurrected an old memory, an old thought that nobody gave attention to until a little TLC brought it back to mind.


I use Dual Paint and Premier Spray Paint since the chair is so small and only 2 cans were needed to completely cover it.


Voila! Easy to do.


All you need for small projects like this are:
-Spray paint
-Sandpaper
-Place to do it so you don't get it on the concrete...opps!